
A Clear, Honest Look at the Pool Leak Repair Process
One of the most common questions we hear from Studio City homeowners is: "I think my pool is leaking — what happens when you come out?" It's a fair question, and the answer matters because understanding the process helps you plan, set realistic expectations, and avoid being surprised by anything. At Studio City Leak Detection & Repairs, we believe transparency leads to better outcomes for everyone. Here's exactly what you can expect when you call us about a pool leak.
Step 1: The Phone Call and Scheduling
When you call +1 (747) 774-7208, our team will ask you a few quick questions: How much water is the pool losing per day or week? Does the water level drop faster with the pump on or off? Have you noticed any wet spots, cracks, or equipment issues? These details help us prepare the right tools for your appointment and often let us make an educated guess about which system is most likely at fault before we arrive.
We offer appointments seven days a week from 8 AM to 6 PM, and we do our best to accommodate same-day requests throughout Studio City and nearby neighborhoods including Burbank, Van Nuys, and Sun Valley.
Step 2: Visual Inspection and Bucket Test Confirmation
When our technician arrives, the first step is a thorough visual inspection of the entire pool — shell, waterline tile, coping, skimmers, return jets, light niches, and the equipment pad. We look for visible cracks, staining patterns, wet soil, and any obvious plumbing drips. If you haven't already done a bucket test, we'll set one up and discuss your observed water loss pattern to confirm we're dealing with a true leak.
Step 3: Pressure Testing All Plumbing Lines
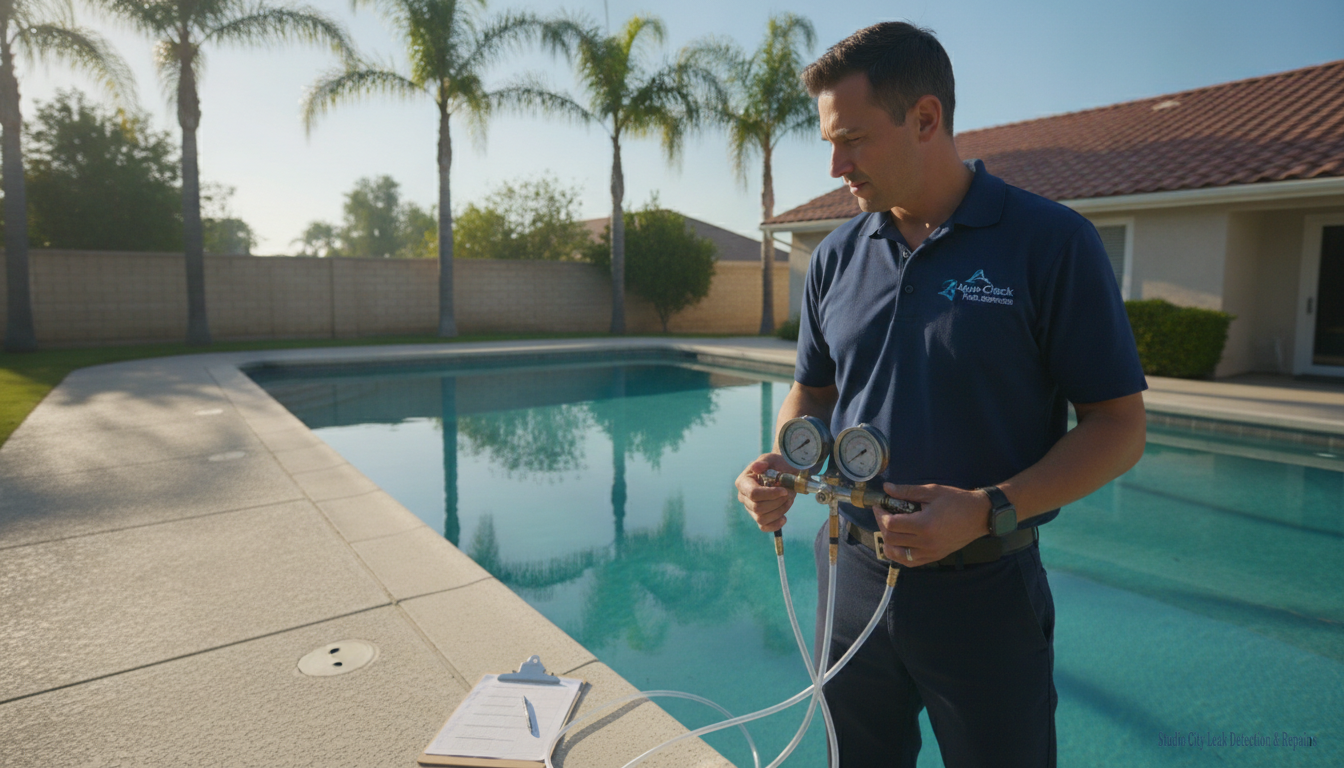
The backbone of professional pool leak detection is pressure testing. We connect a testing manifold to each plumbing line — skimmer, main drain, return lines, spa, and any auxiliary lines — and apply compressed air or water to pressurize the isolated section. A line that holds pressure is intact; a line that bleeds down has a breach somewhere along its length. This lets us quickly narrow the leak to a specific circuit without excavating anything.
Step 4: Dye Testing and Acoustic Listening
Once a suspicious line or zone is identified, we use two additional tools. Dye testing — injecting a small amount of colored dye near a suspected crack, fitting, or skimmer body — makes water movement visible to the naked eye. If the dye is drawn into a void, we've confirmed the leak location. For underground leaks where visual confirmation isn't possible, we deploy electronic amplification equipment pressed against the deck surface to listen for the acoustic signature of water escaping a buried pipe. This allows us to mark the exact leak location before any digging begins.
These same techniques are used to confirm skimmer leaks, pool light niche leaks, and shell cracks.
Step 5: The Repair Recommendation and Your Approval
After detection is complete, we walk you through exactly what we found, where the leak is, and what repair options are available. We won't start any repair work without your explicit approval, and we'll give you a clear explanation of the scope — whether that's an o-ring swap at the equipment pad, an epoxy seal at the skimmer, or a targeted excavation for an underground pipe break. There are no hidden surprises.
Step 6: The Repair Itself
Repair scope varies by leak type. Equipment pad leak repairs — o-rings, gaskets, union seals — are often completed the same day in under two hours. Shell crack repairs using hydraulic epoxy compounds are typically completed within a few hours once the area is prepared. Underground plumbing repairs involve careful excavation, pipe replacement, PVC cure time, and backfill — plan for a half-day to full-day commitment depending on depth and access.
Step 7: Post-Repair Pressure Test and Sign-Off
We never call a job done without re-testing. Every repaired plumbing line is pressure-tested after repair to confirm the breach is sealed before we backfill or close up any access. Shell and skimmer repairs are dye-tested for confirmation. You'll receive documentation of what was found and what was repaired for your records — useful for insurance purposes and future service visits.
Ready to Schedule in Studio City or Nearby?
Whether you're in Studio City's 91604 zip code, nearby North Hollywood, Toluca Lake, or Sherman Oaks, Studio City Leak Detection & Repairs is ready to walk you through this process from start to finish. Call +1 (747) 774-7208 or email [email protected] to get started.